ⓘ We are reader-supported and may earn a small commission at no additional cost to you if a purchase is made through one of our links.
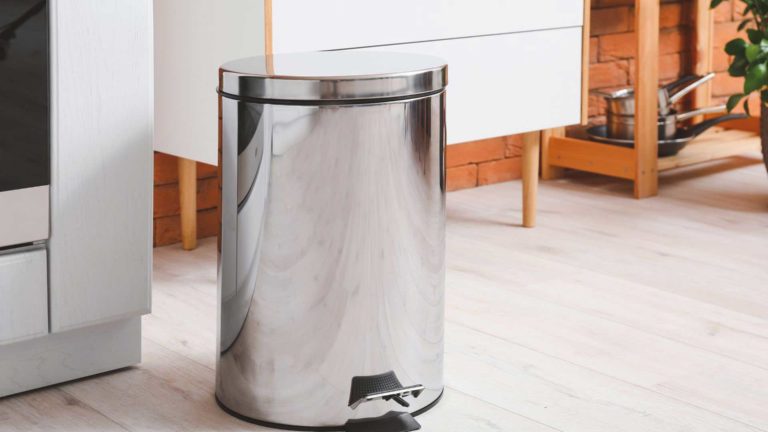
To prevent the growth and spread of bacteria in your kitchen, you need to empty your kitchen bin daily. This may, however, vary depending on the type of food waste that you are dealing with. Dried food materials can stay in the bin for up to two days without causing any problems.
Moist foods, on the other hand, should be taken out of the kitchen after each cooking session. You should never wait for your kitchen bin to fill up till it overflows. This will expose you and your family to disease-causing microorganisms and pests.
If you are looking to replace your waste receptacle, click here to have a look at some of the best kitchen bins in Australia.
How to Clean a Kitchen Bin
After emptying your kitchen bin, you need to wash it properly to remove any residual food particles.
Health experts recommend that you sanitise your kitchen bin during each cleaning session to eliminate bacteria and other harmful microbes.
Cleaning a kitchen bin is a straightforward process and will only take a few minutes of your time. You should consider lining your kitchen bin with a bin liner to allow for fast and effortless cleaning.
That way, the food that is thrown in the bin won’t come into direct contact with the walls, making it easier to clean.
Keep in mind that the cleaning procedure that we are going to discuss only applies to regular kitchen bins and not the electric models with sensors.
Step 1: Take out the bin liner
Simply remove the liner, and dispose of the waste appropriately. You can take it to the main garbage bin outside your home as you wait for it to be collected.
Step 2: Disinfect the bin
Once you are done, pour hot water into the bin and add a disinfectant of your choice. Most people prefer using bleach because it is readily available and also affordable.
If you are using a multi-compartment kitchen bin, ensure that each compartment is properly filled with water.
Step 3: Let it soak
Allow the bin to soak for about 30 minutes. If you are not in a hurry, you can let the bin soak overnight. This not only softens grime and dirt but also eliminates bacteria, mould, and fungus.
Step 4: Empty the contents
Pour out the water and then scrub the bin using a brush. Clean both the interior and exterior surfaces of the bin. After this, rinse the bin with warm or cold water and let it dry. Place a clean bin liner inside the kitchen bin, and you’ll be good to go.
Conclusion
Cleaning your kitchen bin on a regular basis can help you avoid common health problems. Besides, you should make it your goal to ensure that your kitchen is kept clean at all times. Using the right disinfectant will not only eradicate bacteria, but also prevents the build-up of unwanted odour.
Always use bin liners to prevent food waste from coating the interior surfaces of your kitchen bin. Also, not all food waste should go into the kitchen bin. You can place some of the scraps in a compost bin. Through this, you can compost food waste without harming the environment.


