ⓘ We are reader-supported and may earn a small commission at no additional cost to you if a purchase is made through one of our links.
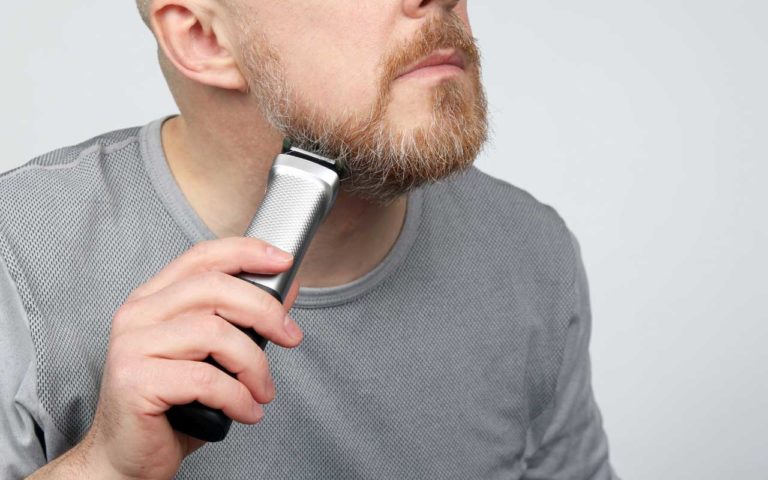
Beard trimmers have become an essential part of men’s lives. Nowadays, everybody has one.
It has eliminated the hassle of using scissors. Compared to scissors, beard trimmers are simpler to use because you can just change the setting to cut your beard at different lengths.
But they do need maintenance.
If a trimmer is not cleaned after use, its performance may decrease, the blades may become dull, but more importantly, it may harbor bacteria.
According to this study, bearded men have more microbes and human-pathogenic strains than dogs. Now, what do you think will happen if you forget to clean your trimmer after using it?
Your trimmer will turn into a playground for microbes.
Now, don’t get scared. In this article, we will discuss how you can keep your beard trimmer clean and bacteria-free.
9 Steps Recommended for Cleaning Your Beard Trimmer
Beard trimmers are fairly easy to clean. You don’t have to be a tool wizard to clean it. If you’re using a beard trimmer for a while, you should already have the idea.
Follow these 9 simple steps to keep your trimmer clean:
Step 1: Get the Required Materials
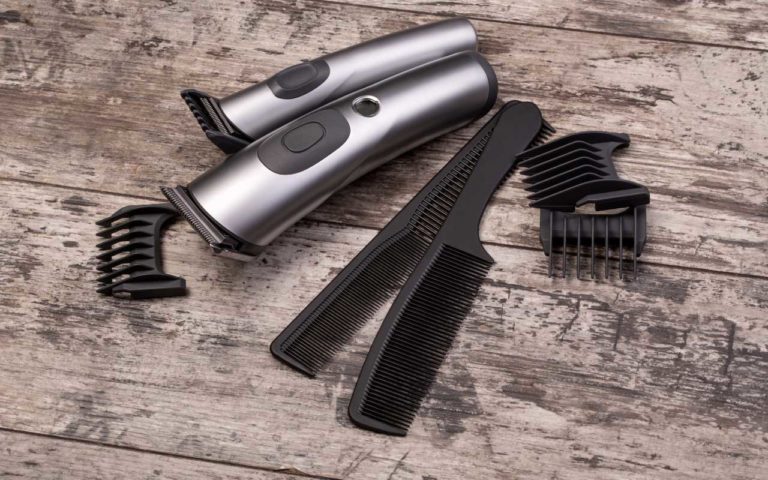
Your beard trimmer probably came with a small cleaning brush and a tiny vial of oil. In addition to these, you might also consider getting a toothbrush for cleaning the trimmer if it didn’t come with a cleaning brush.
Also, get a soft piece of cloth for wiping the trimmer after cleaning it.
Additionally, if you are looking for a trimmer, read our roundup article where we covered some of the best trimmers that come with all the materials needed for a thorough cleaning.
Step 2: Detach the Blades from the Body
With care, remove the trimmer’s blades from the body. You might need to unscrew it or unlatch it. If your trimmer came with a manual, check it for more details.
Step 3: Carefully Rinse both Parts
The simplest way to clean a trimmer is to rinse it with water. Using warm water to rinse the blade may help it release any hair that has stuck to it.
But be careful; if your trimmer isn’t a waterproof one, don’t submerge it in water. This may cause the trimmer to malfunction and the blades to rust.
Step 4: Clean the Blades Using Brush
Holding the blades under running water may not remove all the short strands of hair. This is where the brush that you got with the trimmer comes into play. If you didn’t get any brushes in the pack or have lost them, use an old toothbrush.
Gently run the brush on and through the grooves of the blade. This will help you get rid of hair strands and debris that couldn’t be washed off with water.
Step 5: Rinse the Guards
It is perfectly okay to rinse the guards with water because they are made of plastic. You can use soap and warm water to give it a thorough cleaning. Using soap will also make sure they are free of bacteria.
Step 6: Oil the Blades
Time to use that tiny vial of oil that you got with your trimmer when you bought it.
This oil ensures that the blades stay sharp and don’t get dull. Additionally, putting a drop of oil on the blades keeps them and also the DC motor lubricated. Oiling your trimmer can increase its lifespan.
If you didn’t get a bottle of oil or have lost it, you can use olive oil, vegetable oil, or even baby oil. However, some brands specifically indicate in their warranties that using different oils would void your guarantee. Check your warranty card for more information.
A drop or two applied each month will do wonders for these blades. Do not add more than a single drop, as it might damage the motor. You may use the brush to evenly distribute the oil on the beard trimmer’s blades.
Step 7: Wipe Down All Parts
Use a soft piece of cloth to wipe all the parts: the blades, the guards, and the body of the trimmer.
Avoid using toilet or tissue paper. Also, don’t rub the cloth too hard on the blades. This may lead to fibers and debris getting stuck on the blade’s teeth.
You may use the cloth to clean off extra oil if there’s any on the blade.
Step 8: Dry Off All Parts
Do not try to dry the parts by wiping them with a cloth. Leave them to air dry. But do not leave them in a humid place.
Step 9: Reassemble All Parts
Before reassembling them, check if all the parts have dried out. If they are not dry, don’t reassemble them.
Reassembling wet parts can lead to damaging the trimmer; rust can accumulate on the blades; bacterial contamination might happen.
After thoroughly checking the parts, put them together one by one. First, put the blade in the body and try to lock it in place with whatever mechanism your trimmer has.
You may want to store your guards separately rather than putting them on the trimmer.
How to Sanitize Your Beard Trimmer for More Safety?
There may be more bacteria on a dirty trimmer than you can imagine. You should always sanitize your trimmer after using it. Simply put, you can sanitize your beard trimmer with alcohol. You can also spray disinfectant on it.
It is considered good practice to sanitize your trimmer after every use.
Tips for Maintaining Your Beard Trimmer
Beard trimmers are easy to maintain. There are a few things you can do to improve your trimming experience and extend the life of your trimmer.
- Take proper care of your blades. This means sharpening them, keeping them clean, and also oiling them. In turn, your trimmer will operate more efficiently.
- Replace the worn-out parts. Some parts of the trimmer, like the guards and the blades, might wear out faster. Replacing them would ensure a good trimming experience.
- Check if your blades are properly aligned or not. If you see any crooked blade teeth, you either have to fix them or replace the whole blade.
- If you don’t have a waterproof trimmer, don’t run it under water.
Conclusion
Keeping your trimmer clean is a part of proper trimming etiquette. They do require a bit of work, but the process is fairly simple. Cleaning a trimmer is not only good for your facial health, but it also prolongs the longevity of the trimmer. You should never stow your used trimmer away without cleaning it.
Thank you for reading. I hope now you understand why and how you need to clean your beard trimmer.

