ⓘ We are reader-supported and may earn a small commission at no additional cost to you if a purchase is made through one of our links.
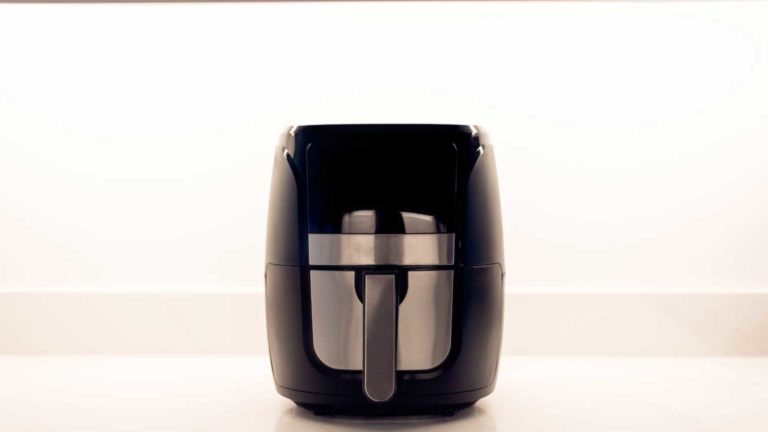
To get the best out of your air fryer, you need to properly clean it and ensure that all greasy stains and residual food particles come off. And because you are dealing with an electric appliance, there is a cleaning procedure that you need to follow and several factors that should be taken into consideration to avoid damaging the unit.
In this article, we are going to take you through a step-by-step procedure for cleaning an air fryer after each use. We’ll also discuss how you can deep clean your air fryer, so read this piece to the letter to learn everything there is to know when it comes to cleaning air fryers.
Searching for a replacement for your air fryer or looking to try out a new model from a different brand, click here and choose from our list of best air fryers in Australia.
How to Clean an Air Fryer after Each Use
The steps highlighted below apply to both oven air fryers and basket air fryers. However, ensure that you go through the product manual to better understand how you can clean the components in your air fryer. Here’s how you can clean an air fryer after each meal prep:
Step 1: Unplug the air fryer and give it time to cool
Since you’ve just finished using the air fryer, it would be wise to let the unit cool for about 15-20 minutes. That way, you won’t burn yourself when handling the appliance. You also need to unplug the air fryer from the outlet to avoid being electrocuted.
Step 2: Remove the basket/crumb tray
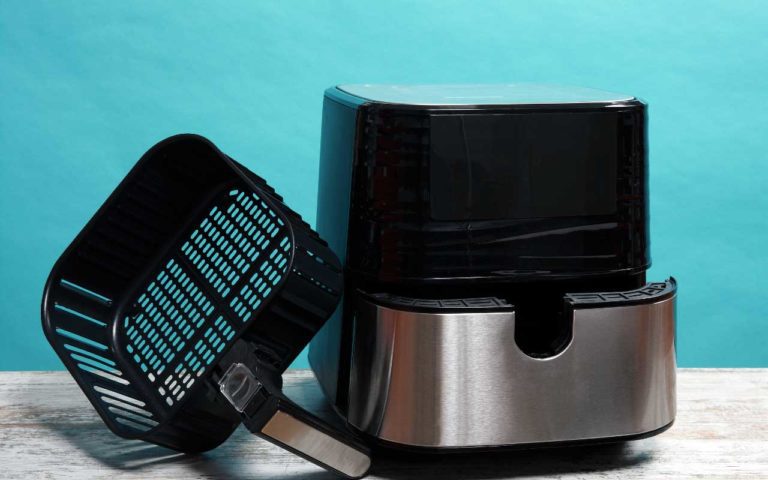
If you are using a basket air fryer, you need to slide out the basket and remove the food crumbs. For convection oven air fryers, simply remove the crumb tray and clear out residual food particles using a soft-bristle brush.
Using a microfiber cloth damped with warm water, gently wipe down the basket/tray until all the grease comes off. Depending on how greasy the tray/basket is, you may or may not use dish soap.
Step 3: Clean the interior of your air fryer
You can use the microfiber cloth that you used earlier to clean the interior parts of your air fryer. Damp the cloth with warm soapy water and wipe down the surfaces of the cooking chamber. Repeat this several times to achieve the desired results. Try as much as you can not to soak up this part of the air fryer.
Step 4: Clean the exterior surfaces
Always clean your air fryer from the inside out. Once you are done with the interior, use a microfiber cloth to wipe down the outer surfaces. We recommend that you use a different microfiber cloth for this step to prevent the transfer of grease.
Step 5: Reassemble the air fryer
Check if all the components are dry. Put the basket/tray back in the air fryer and ensure that they are correctly positioned before closing the unit. Your air fryer is now ready for the next cooking session.
How to Deep Clean Your Air Fryer
Deep cleaning an air fryer is very easy. Simply follow the steps that we have discussed above. However, you will have to use baking soda, white vinegar, or citric when scrubbing the basket and other parts that often get greasy during the air frying process.
Ensure that you use a soft bristles brush to avoid damaging the coating on the basket. The brush also enables you to clean hard-to-reach parts.
If you clean your air fryer after each use, you won’t have to deep clean it from time to time. Experts recommend that you deep clean your air fryer once or twice every two weeks. This may, however, vary depending on the frequency of use and the types of food that you cook.
Conclusion
Regular cleaning of an air fryer is not only good for your health, but also ensures you get flavourful foods every time. If you don’t clean your air fryer, it’ll produce a burning smell that can alter the taste and colour of your food.
Also, excessive build-up of greasy food particles in the air fryer can be a fire hazard. That being said, you need to clean your air fryer properly and use it correctly to avoid complications when cooking.


