ⓘ We are reader-supported and may earn a small commission at no additional cost to you if a purchase is made through one of our links.
If you are a DIY enthusiast, then you must have used a laser level in one of your projects. The only question is, did you use it correctly? Being one of the most versatile tools, a laser level can come in handy in different scenarios.
When used the right way, these pieces of equipment can help you level and align items with the utmost precision. With the help of this guide, you will be able to properly set up your laser level for accurate readings.
We are going to show how you can position your laser level when tackling different projects, so read on to learn more. Click here to have a look at some of the top-rated laser levels that you can consider buying.
What is a Laser Level?
A laser level is an electronic tool used for aligning workpieces and other items. These tools project beams (green or red) along a vertical/horizontal axis that can guide you when levelling the materials that you are working with.
They are commonly used in construction and surveying work. However, laser levels have become a favourite among DIY lovers and weekend warriors due to their convenient design and ease of use. Additionally, they are very affordable and readily available in most tool stores.
Most laser levels project dots and lines, while other models use both. You need to keep in mind that laser levels vary in terms of design, accuracy, and build quality. That said, be sure to pick a unit that offers value for money.
How to Properly Use a Laser Level
If you are after accuracy, you should consider how you position your laser level because this will determine the results that you will get when levelling your work. Below are the 3 simple steps that can help you get started:
Step 1: Choose the right laser level
There are different types of laser levels that you can go for depending on your project requirements and budget. Plus, not all laser levels are built equal. Some are more accurate than others, so you should take your time before settling for a particular option.
You also need to factor in the capabilities of the device that you intend to buy. But most importantly, you should consider whether you will be using the laser level indoors or outdoors. If you know a thing or two about these devices, then you must be aware that there are models that project a red beam, while others emit green light.
Laser levels with green beams are suited for outdoor use because the human eye is more receptive to green light under such conditions. In addition to this, you need to check if the laser level has a pulse function.
Red beam laser levels work best when used indoors. They are often cheaper than their green beam counterparts. Aside from the colour of the beam, ensure that you pick a laser level with the most ideal beam orientation for your project. Multi-line laser levels can greatly assist you when handling cabinetry projects or any other task that may require you to align multiple items.
Distance is also another important factor that you need to add to your list of considerations when choosing a laser beam. This is because the laser beam from most of these units becomes faint when projected over a long distance.
Step 2: Set up your laser level on a flat surface or tripod
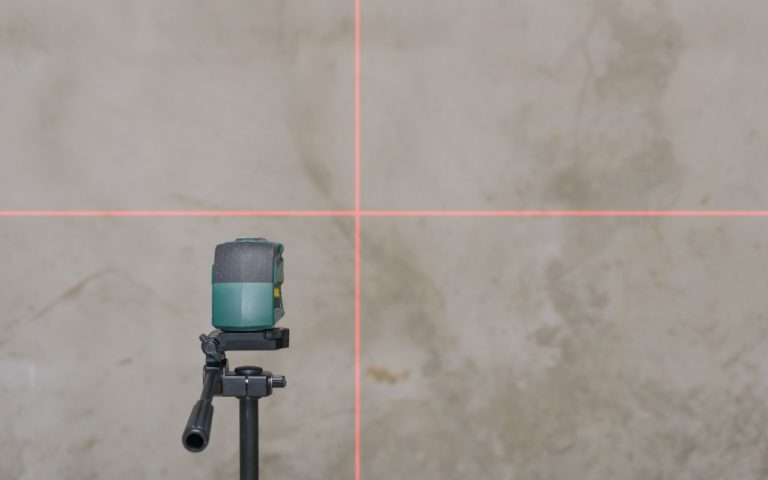
Now that you have chosen a laser level for your project, you can start with the setup. Depending on the type of project that you are working on, you can mount the laser level onto a tripod and can as well set it up on a flat surface.
It is advisable that you use a tripod with adjustable legs, as this will make your work easier. You should double-check and see if the laser level is perfectly aligned to get accurate results. You’ll have nothing to worry about if you are using a self-levelling laser, since the unit will automatically position itself at the most ideal angle.
If you are using a manual laser level, you’ll have to make some adjustments to achieve the desired results. The bubble levels on the unit will let you know if the tool is properly placed.
Step 3: Power up the laser level
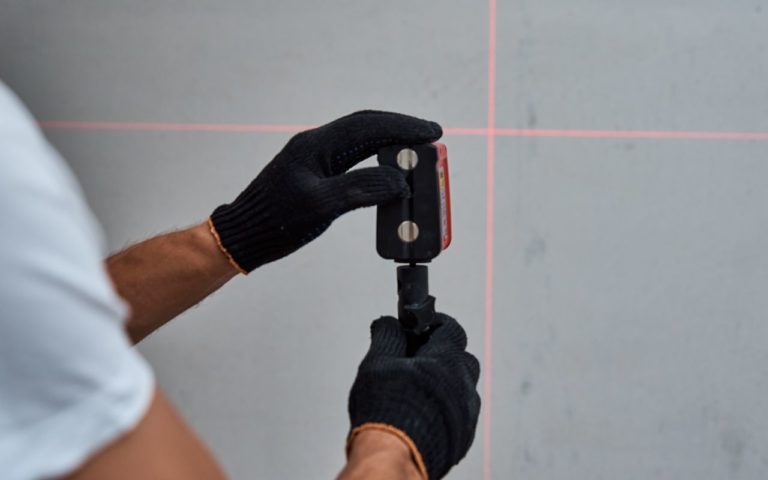
Fire up the laser and choose the beam orientation that you want to choose. You can adjust the laser level further if you notice that the beam being projected is not well aligned with the mark that you have made.
If the beam is being projected over a long distance, you should use a laser beam detector. This particularly applies when working outdoors. The detector will notify you when it is aligned with the laser level as you make the necessary adjustments. Make the required measurements and align the workpieces according to your needs.
Conclusion
As you have seen, working with a laser level is very easy. You just need to ensure that you pick the right type and model for the task at hand. If it’s your first time using a laser level, you should consider purchasing the self-levelling type. They’ll not only simplify your work, but will also deliver accurate results every time. You should also learn how to maintain a laser level to prolong durability while preserving accuracy.


