ⓘ We are reader-supported and may earn a small commission at no additional cost to you if a purchase is made through one of our links.
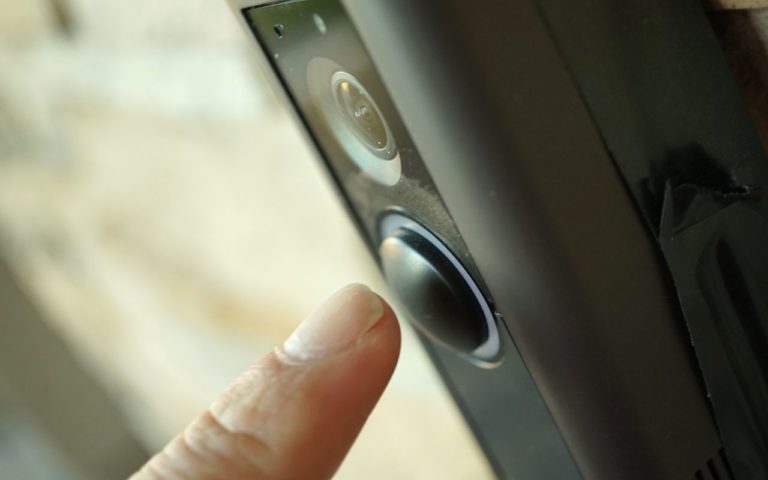
To install a video doorbell, there are several factors that you need to take into consideration. Besides, these devices come in different designs, so the installation process may vary from one unit to another.
That said, you need to go through the installation instructions provided by the manufacturer to avoid problems during set-up. Additionally, ensure that you have all the tools that you may need during installation. Most people prefer video doorbells over traditional doorbells because the former allows you to see who is at your door.
Best of all, some models feature a two-way audio system that enables you to talk to the person on the other end. Moreover, research shows that one in every six Australian households is fitted with a smart video doorbell.
You can add to this number by buying the best video doorbells Australia has to offer. If it’s your first time installing a video doorbell, this article can guide you through the entire process.
What to Consider When Installing a Video Doorbell
Installing a video doorbell is very easy, but it can prove challenging if you miss the key points. Below are some of the important tips that you need to take into account when installing a video doorbell:
Existing hardware
If you are looking to replace your current doorbell with a video doorbell, you can easily connect the new unit to the existing power system. This will make your work a lot easier since you won’t have to worry about the wiring.
Also, be sure to check if your chime hardware is compatible with the video doorbell that you intend to install. If you are not sure how to go about this, you should consider hiring a professional. You also need to check if the screw holes on the wall align with those on the video doorbell.
Video doorbell positioning
To get a wide field of view, the video doorbell should be placed in such a way that nothing blocks the camera. But most importantly, the unit should be mounted about 120 centimetres from the ground. This way, the unit will monitor movements more efficiently.
7 Steps for Installing a Video Doorbell
The steps listed below apply if you don’t have an existing doorbell system. Before you start the installation, the battery should be charged to full capacity.
To add to this, you can connect the video doorbell to your smartphone or tablet by scanning the QR code on the back panel. This is optional since some models don’t have this feature.
Step 1: Properly align the mounting bracket with the wall
Video doorbells come with a spirit level that can help you align the unit with ease. Simply attach the level to the mounting bracket. Most levels have a convenient snap-on design for quick and easy installation.
Once you are done, you can line up the mounting bracket with the mounting area. Check the level and wait for the bubble to centre properly.
Step 2: Mark the mounting holes
Using a pencil, mark the mounting holes while firmly holding the mounting bracket. Ensure that the mounting bracket stays in place until all the holes are accurately marked.
Step 3: Drill the holes
With the help of a power drill, make holes in the spots that you marked earlier. If your wall is made of concrete or bricks, it is advisable that you use a drill with a hammer function.
Insert the included plastic anchors into the holes and hammer gently until they are flush with the wall. However, you won’t have to use plastic anchors if the wall is made of soft materials such as wood.
Step 4: Secure the mounting bracket
Now that the holes are ready, you can attach the mounting bracket to the wall using the set of screws in the package. Fasten the screws firmly without damaging the mounting bracket.
Don’t forget to detach the level after fastening the mounting bracket.
Step 5: Clip in the video doorbell
You can now attach your video doorbell to the mounting bracket. Apply minimal force when doing so to avoid breaking the unit. If you are using a wired model, ensure that you connect the wires to the terminals on the mounting bracket before inserting the video doorbell.
Step 6: Fasten the security screws
Most video doorbells come with additional security screws that will ensure the unit stays attached to the mounting bracket. Tighten these screws using the included screwdriver.
Step 7: Check if your video doorbell is working
Synch the video doorbell with your tablet or smartphone as stated earlier and check if it is working properly.
Conclusion
Before installing a video doorbell, you need to know the type of unit that you are dealing with. Some of these devices operate wirelessly and can connect to your smartphone via Wi-Fi, while other models have to be hardwired. You should charge the battery to its full capacity before you start the project to avoid complications after you are done with the installation.


